Hello!
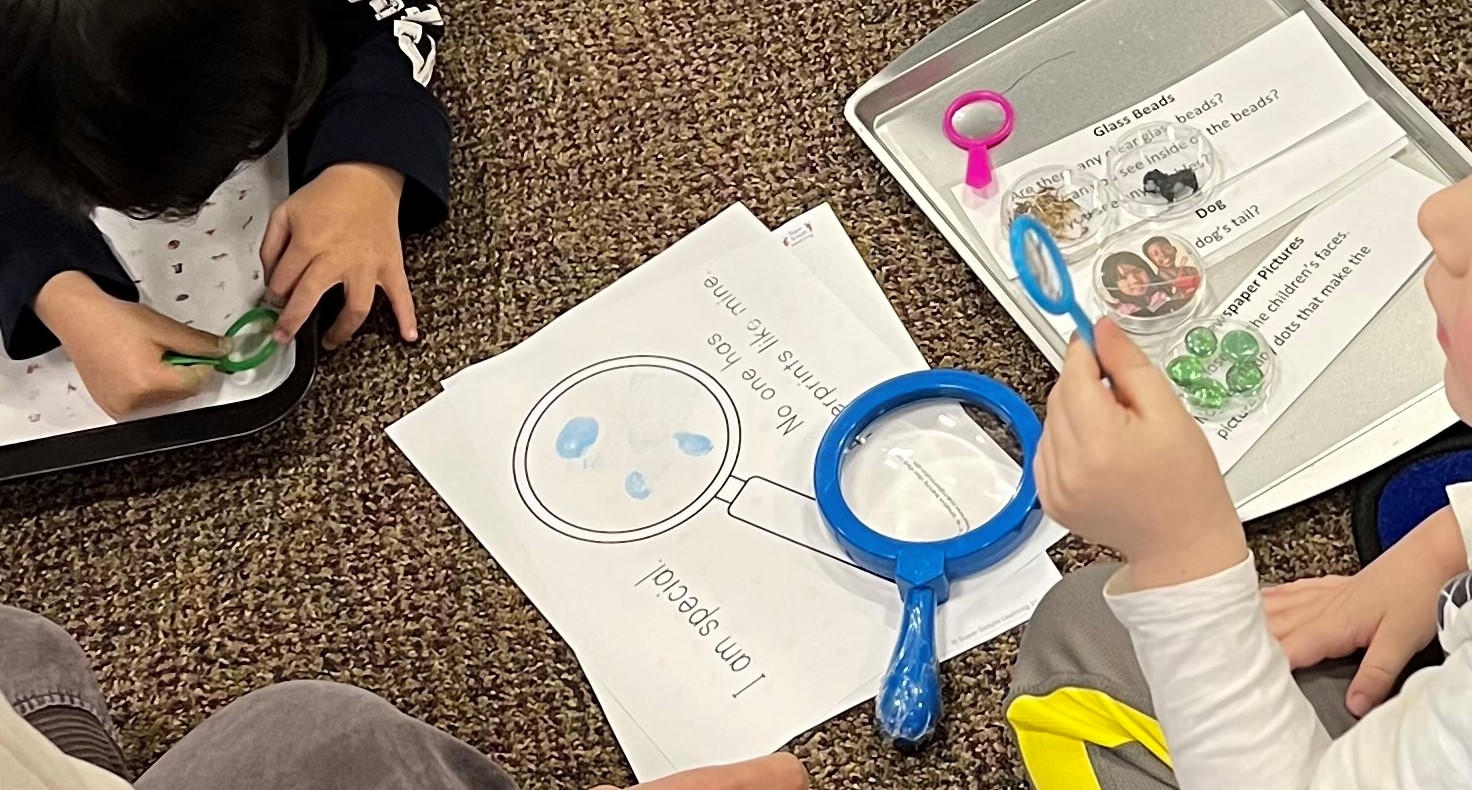
Today we used the ink pads in our Preschool STEAM magnification program. The children used them to make fingerprints, then examined them using magnifiers with different levels of magnification. We gave out little magnifying glasses for the children to take home.

Thanks for sharing, Macy! I like how you were able to adapt and change directions with the activity due to your library needs. I am glad your first workshop went well! ![]()
Remember to give yourself enough credit and you continue to grow!
Hi Nicole @hardingn ,
It’s great to hear you’re using the material kit for other STEAM programming, and for such young learners! (I’m glad these stamp pads are washable! ![]()
![]() ) We like to encourage creative STEAM learning for all ages—doing that for preschool kids can be challenging.
) We like to encourage creative STEAM learning for all ages—doing that for preschool kids can be challenging.
What are ways you think about supporting creative pathways and experimentation for this age range?
I hope this answers your question… Before we introduce new tools, we talk about the tools that the children use every day. Today we showed a picture of a scientist who had a pencil in her pocket and asked why? Many children spoke about writing or drawing. Then we asked, “what is the difference between a pencil and a pen?” The eraser. What is an eraser good for? Correcting our mistakes. Even experienced scientists don’t get the right answer the first time. We tell the children in Preschool STEAM, they are the scientists and can experiment. We give them materials and tools, and they get to discover new things. In this program, the parents and caregivers are encouraged to sit with the children and talk with them about their experiments. Judy spoke about how her fingerprints are different from mine and different from everyone else’s in the room. The children were encouraged to check out the patterns on their own fingerprints and then compare them with someone else’s. Some children doubled up magnifiers to make the object look even larger. Some children slid their fingerprints under the microscopes. We also had children’s microscopes, children’s binoculars and multiple magnifiers of different strengths. In the back right of the photo, you can see the child in the red and gray jacket explaining what he discovered to his friend’s mom in the green hoodie. The mom with the pink sweater in the front left is asking her daughter in the striped top what tool she would like to use next. Judy and I frequently model asking questions of the children as we walk around the room. What did you see? Was there a difference between what you saw with the binoculars and the microscope? Other than size, what is the difference between your mom’s fingerprint and yours.

Thank you so much for sharing the details of your program. (Do you have experience in sociology research? This is a fantastic example of descriptive field notes!) It’s wonderful to see parents exploring with kids, and I appreciate your intentional choice of having everyone sitting on the floor instead of using the chairs stacked on the side. The conversations you shared here shows how much thought and care was put into this program. It’s great that you and Judy provided different tools for seeing, and threw binoculars in the mix. It looks ![]() like a fun variety of visual experiences.
like a fun variety of visual experiences.
It’ll be nice to include an element of learning for all ages, so kids can see that adults don’t have all the answers. Giving adults the space to truly learn and explore alongside kids can foster lifelong relationships of collaborative problem solving, especially as we face the changing world around us.
I love all the different ways this kit is being used. We hosted both the paper circuits and symmetry projects here at our library and it was such a success! We had a small group of elementary aged kids. We initially discussed how circuits work, then we discussed different things that light up in every day life. Families browsed through the zine and I had a simple circuit template I created so we could all do a circuit together. It was so cool to see the see the sense of accomplishment that came from the success of the initial circuit and the hunger to create and explore more. The families explored on their own and created their own projects! It was so great to see how families worked together to problem solve when something didn’t go quite right and it was also amazing to see what the kids came up with in their light up creations! Didn’t get too many photos, but here’s one. Thank you so much for the kit!

1 Like
Hi Victoria!
So great to hear about families learning new things together and problem-solving. Since you’ve already shared what went well, I’m curious about:
-
What were your considerations and choices that made it a successful activity (helpful for your library peers navigating working with families!)?
-
And what you would do differently next time?
Thanks for sharing!
I finally got to do a BeauSym program! ![]() I decided to do a deep dive on Friezes and host a 2 hour class. The first hour, we went over the 7 ways to generate friezes and the 2nd hour, we played with what we learned (using, of course, some of the PLIX Winter Kit contents!).
I decided to do a deep dive on Friezes and host a 2 hour class. The first hour, we went over the 7 ways to generate friezes and the 2nd hour, we played with what we learned (using, of course, some of the PLIX Winter Kit contents!).
I can’t upload the 3 page document I created or the collection of examples I amassed, but if anyone wants to see them, shoot me an email (msprenne@richlandlibrary.com) and I will send them to you!
I started off with a short discussion about PLIX (which really interested a couple of the homeschool-mom attendees!) and led into BeauSym. I showed them the BeauSym website and showed them how to use it and encouraged them to play with it at home.
We chatted about what symmetry is and how mathematically complex the concept of ‘symmetry’ gets. I briefly touched on the different symmetry groups (rosette, frieze, wallpaper, and crystallographic) and showed them the rosette, frieze, and wallpaper generators from Hobart and William Smith Colleges.
I found a blog by Paula Beardell Krieg called Playful Bookbinding and Paper Works and she did a series on explaining the frieze symmetry group (these are in newest-first order, so you’ll have to scroll through to get to the first in the series). They are an excellent beginner-level guide to this type of symmetry! It certainly helped me understand frieze symmetry better.
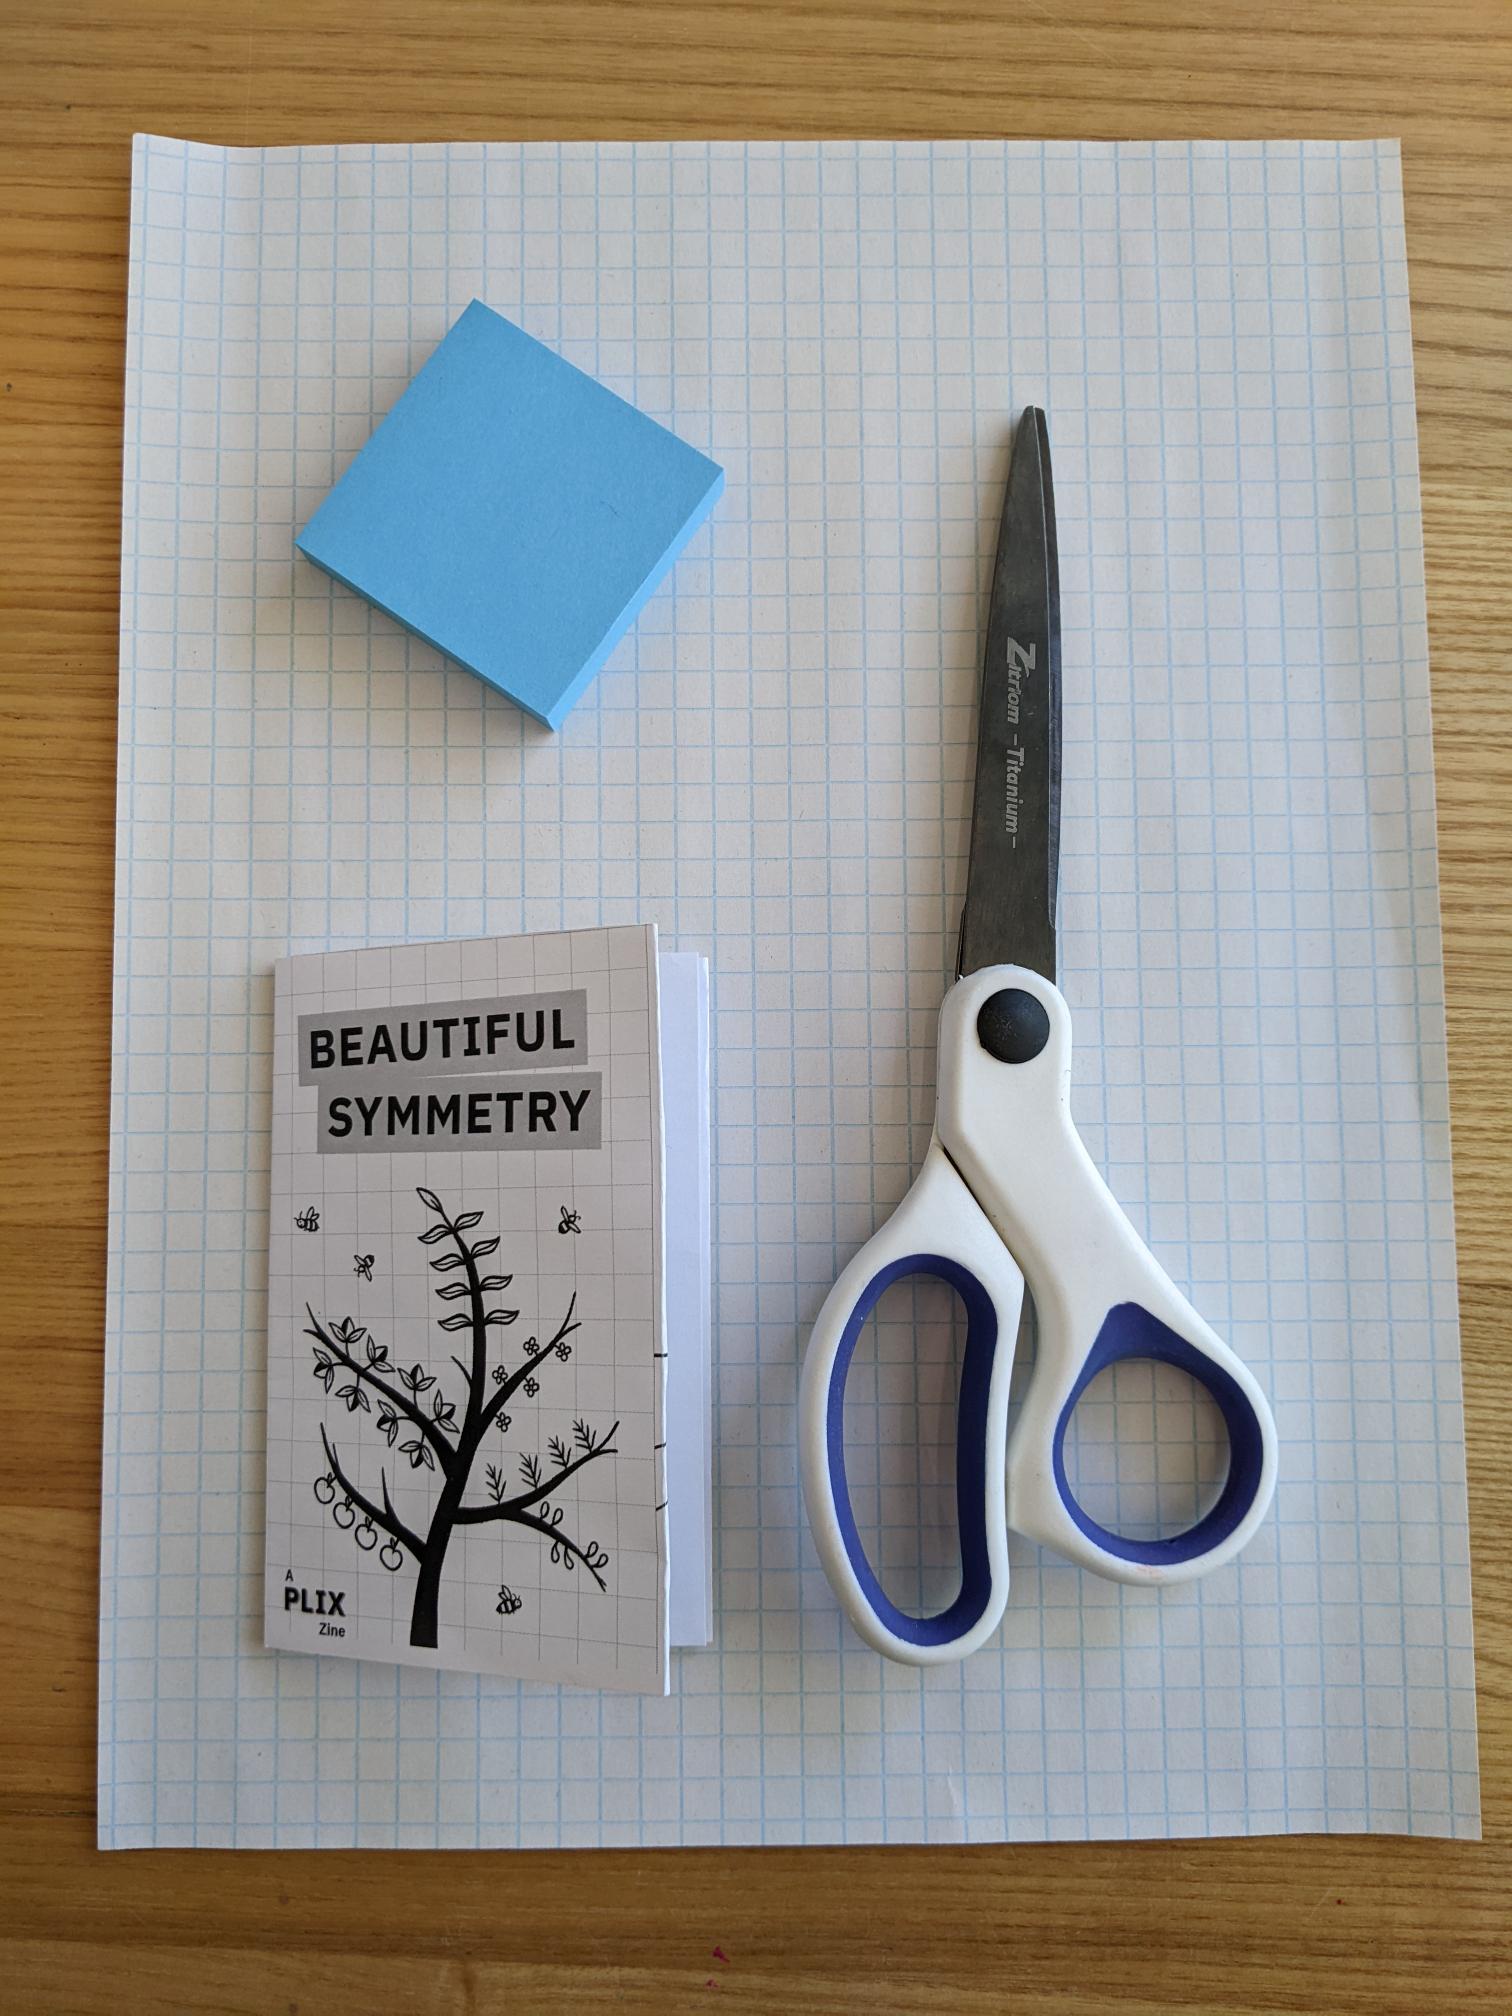
I started each participant with a Post-It note pad, a pair of scissors, a sheet of graph paper, and a copy of the PLIX BeauSym zine. I had them each peel off about 8 sheets of the post-its and cut a shape into them (while still stuck together) - this made each square asymmetrical. As we went through each of the 7 ways to generate a frieze, we stopped to practice using our post-it note shapes.

The next step was to play with our new knowledge, so I had set up a play station:

With examples from around the world (Latvia, Africa, Greece, etc)…
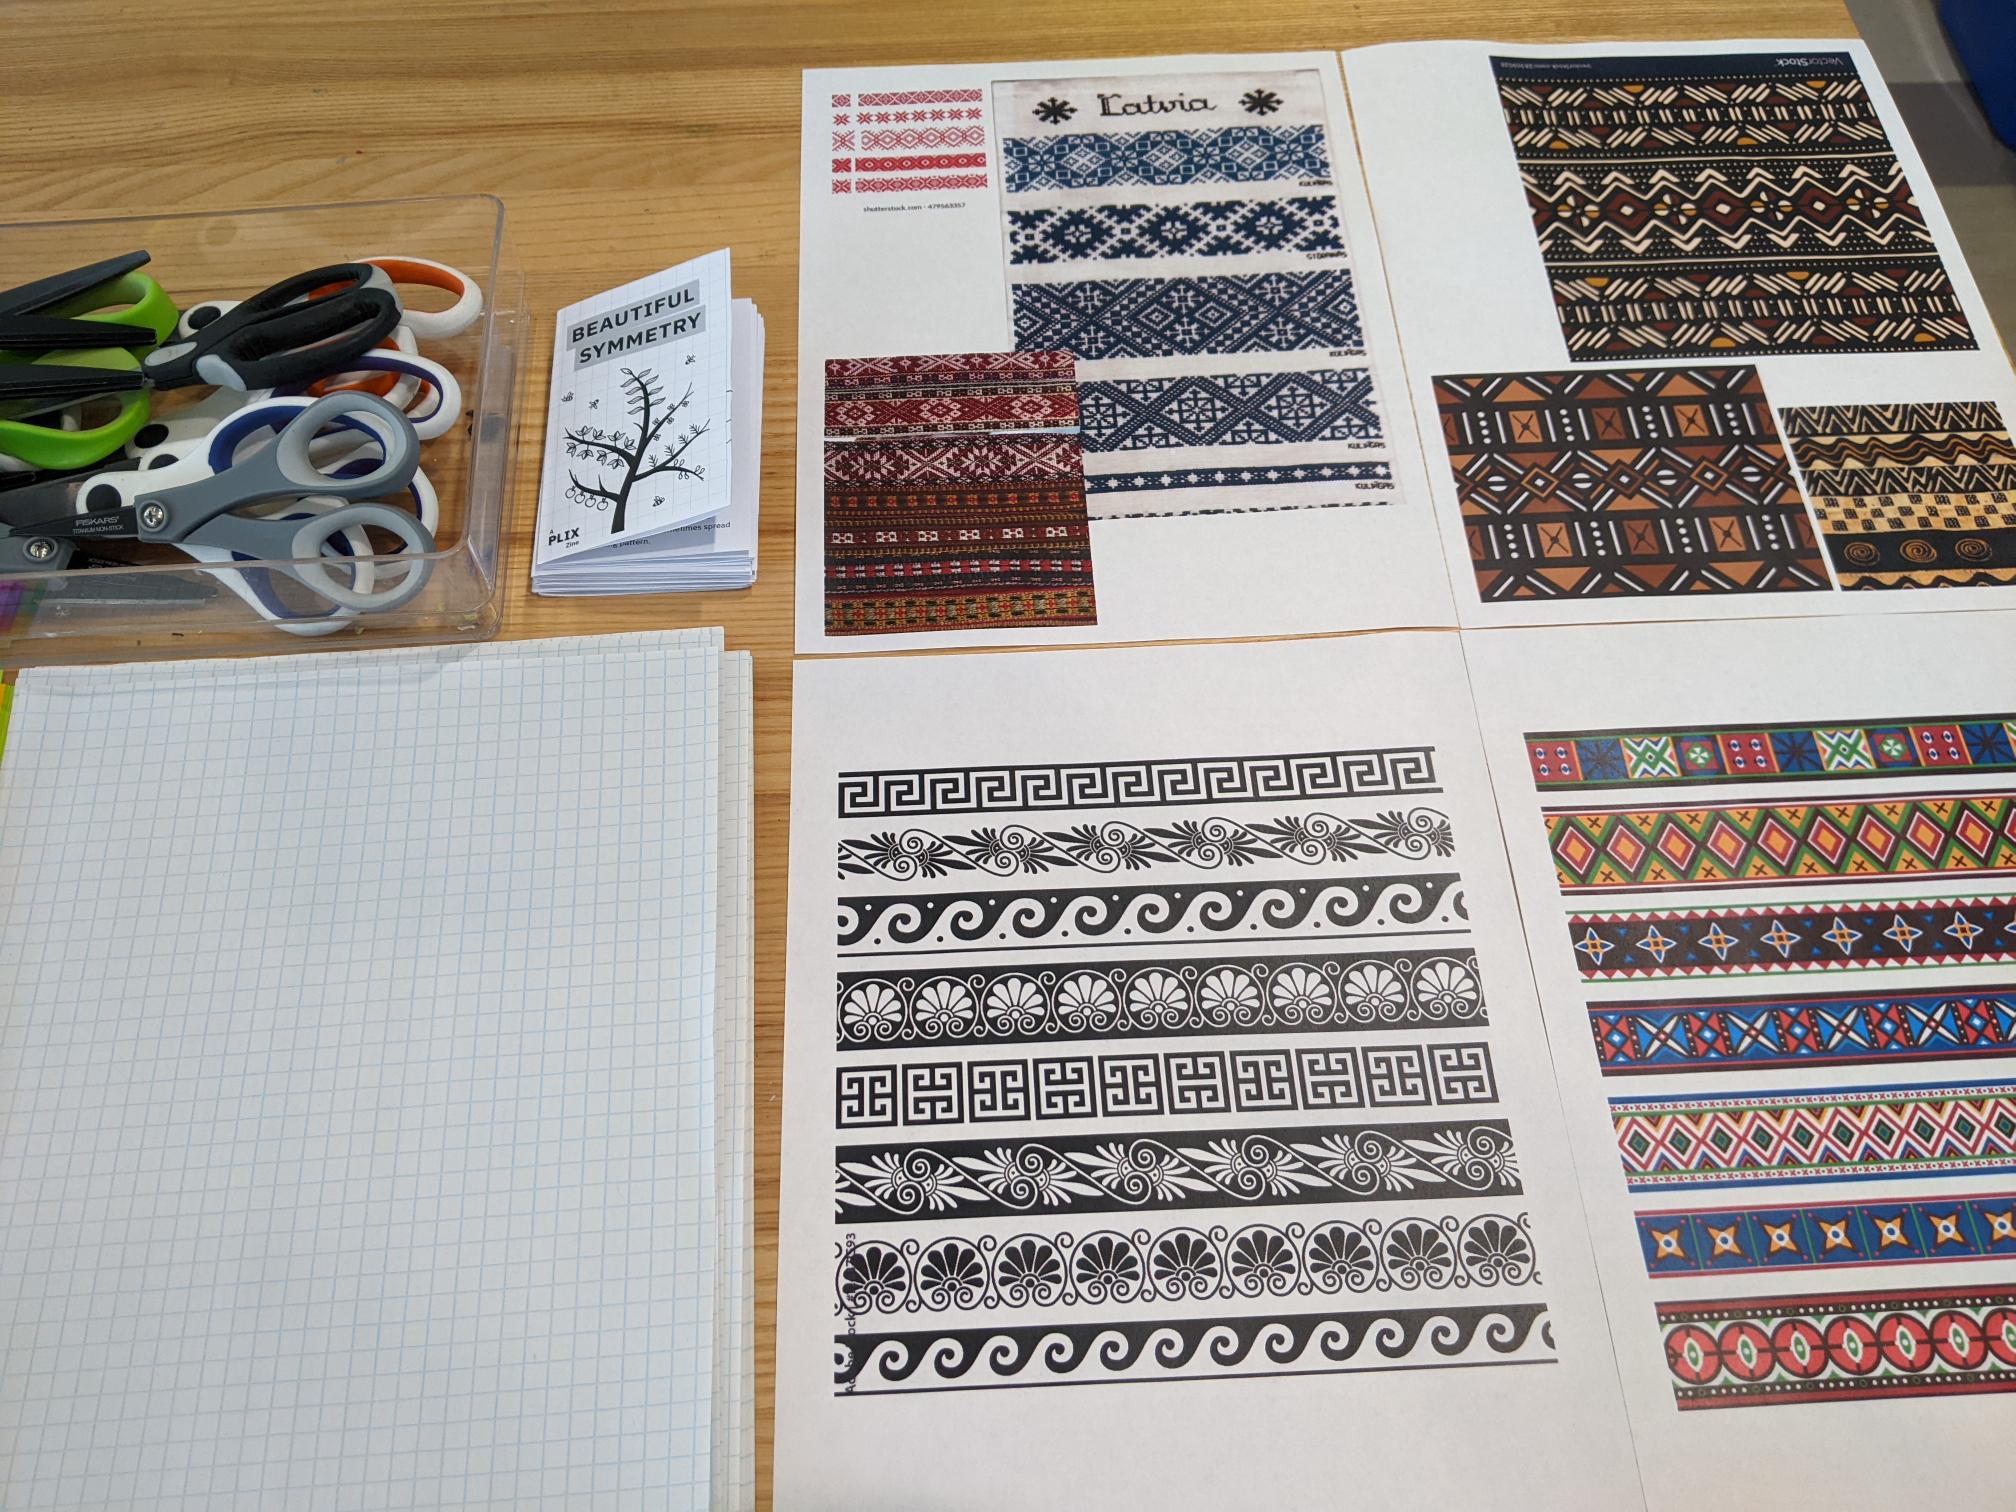
And all sorts of fun materials (I was convinced to also get down my box of stamps)…

The sticky shapes did not survive first contact (which was fine!)…

Some interesting pieces of art were created!

2 Likes
\(ᵔᵕᵔ)/ This is an amazing Melissa! Thank you for documenting the details and sharing it with us. I love the unexpected use of foam stickers.
Could you share maybe 2 more photos of other creations on here? And would you mind if we feature it as a remix on the activity page?
1 Like
Thank you, Ada!
I will post more photos early next week - I’m out of the building until Monday.
And please use it as a remix! ![]()
![]()
Ooh I really like this, and so simple!
1 Like